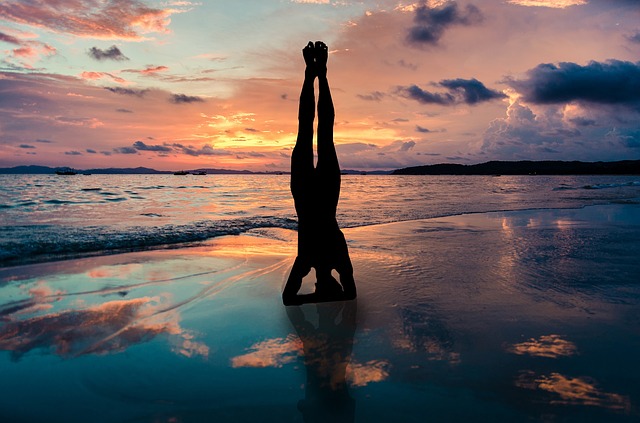
Sirsasana or Headstand is one of the most famous postures among Instagram accounts about Yoga. Although it may seem difficult and even painful, this pose is not complicated at all and doing it right, you won’t feel any pain at all.
Let’s check it out! Here is a step by step guide to get this posture.
Sirsasana step by step
- Let’s kneel on our mat and grab with our right hand our left elbow and vice versa, to get the measure of our forearms. This measurement is the one that we will have to maintain while we perform Sirsasana, trying not to place our forearms further away.
- Having taken this measurement, we rest our forearms on the floor, keeping our elbows gripped with our hands so as not to lose the distance. While keeping our elbows in the same place, we open our arms and intertwine our hands, resting them on the floor by the edge of the little finger. In the space created, our head will remain “embedded”.
- Now, we rest our head on the floor, just inside the space we have created with our hands. The top of the head will be resting on the floor, while the back of the head is held and firmly embraced by the hands.
- After perfectly positioning the head and arms, we stretch our legs by resting on the tips of our toes: from there, we walk slowly forward until our spine is as straight as possible and our hips are directly above our head.
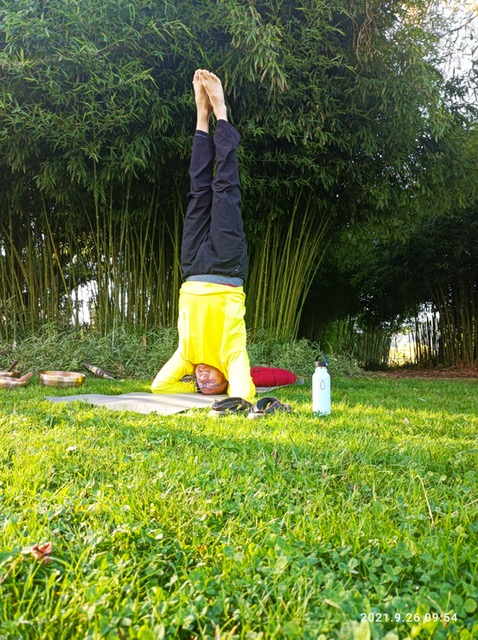
- At this point, while pushing strongly on the floor with our forearms (this is the key to climbing smoothly), we lift our right leg with our knee bent, and then our left leg. Once we find our balance point, with the core (abdominal, lumbar, pelvic, gluteal and deep muscles of the spine) well activated so as not to fall, we stretch both legs towards the ceiling. Once up, we can start playing with different leg positions.
Can Sirsasana be done if you are a beginner?
If you are a beginner, it would be useful to start with the help of a wall. Place your hands and head a few centimeters away from the wall and it will act as a “stopper” if you push yourself forward.
It is also welcome the help of a partner to help you raise your legs the first few times you try to practice this pose.
Specific exercises such as the plank or something simpler such as the candle can help when doing Sirsasana.
If you fall down, learn how to fall right!
To start, make sure you have enough space in the place where you are practicing, both forward and sideways. If you are practicing at home, remove furniture that you might bump into before you start practicing.
Something that often happens, while practising Sirsasana, is that you lose your balance and fall forward with your legs straight. The most important thing here is to try that when falling, our back is rounded to roll on the mat instead of falling straight on it. It is equally important that we try to uncross our fingers before falling, as it can be dangerous to rest the weight of our head on our hands with our fingers crossed.
What can Sirsasana do for you?
This posture, known as “the queen of asanas”, provides many benefits. As it is an inversion asana (posture in which the feet are above the head) it will promote venous return and improve our blood circulation. This also helps us to improve the hormonal functioning of our body, since a better blood supply gets a better functioning of the thyroid gland. In addition, the load of the spine is released.
The muscles that work the most in this posture are those of the core area, that are activated to help us maintain balance.
This posture is contraindicated if you suffer from hypertension, hypotension or cervical problems.
Recent Comments